This is my next post in my series of pieces on editing photos using GIMP. For a full list posts in my series on editing images or other topics, you may use the tag or categories list at the bottom of this post or check the “Curriculum” link on this page. This post is about brightening up a too-dark photo using GIMP. None of the tools I am using are unique to GIMP and can be found in other image editors.
Brightening an overly dark photo is extremely useful when improving the looks of your images. It is rare to have full control over the lighting when you are taking pictures and it is very easy to take pictures that are too dark. Many photo editors have automated filters that can be used to brighten a dark image, however they do not offer the level of control that manual controls do. For this tutorial, I will be using the manual brightness and contrast tool on GIMP to adjust the brightness of the image. GIMP includes other tools that can also be used to modify the brightness of an image that will be covered in a future tutorial. When modifying the brightness of an image, it is important to modify the contrast of the image as well. This prevents the image from becoming too washed-out.
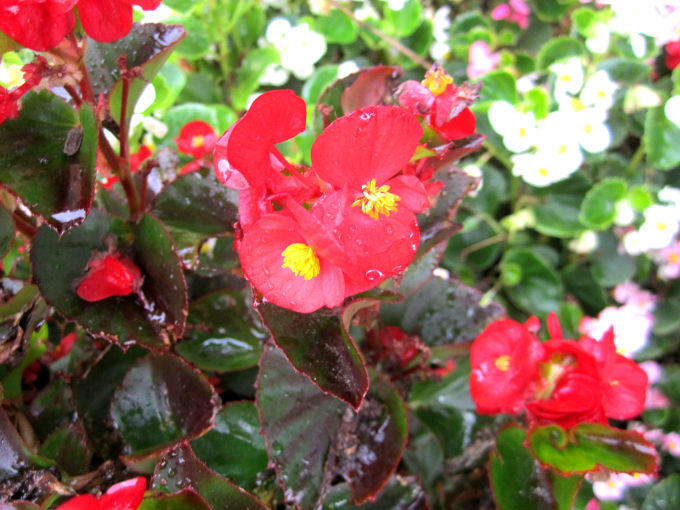
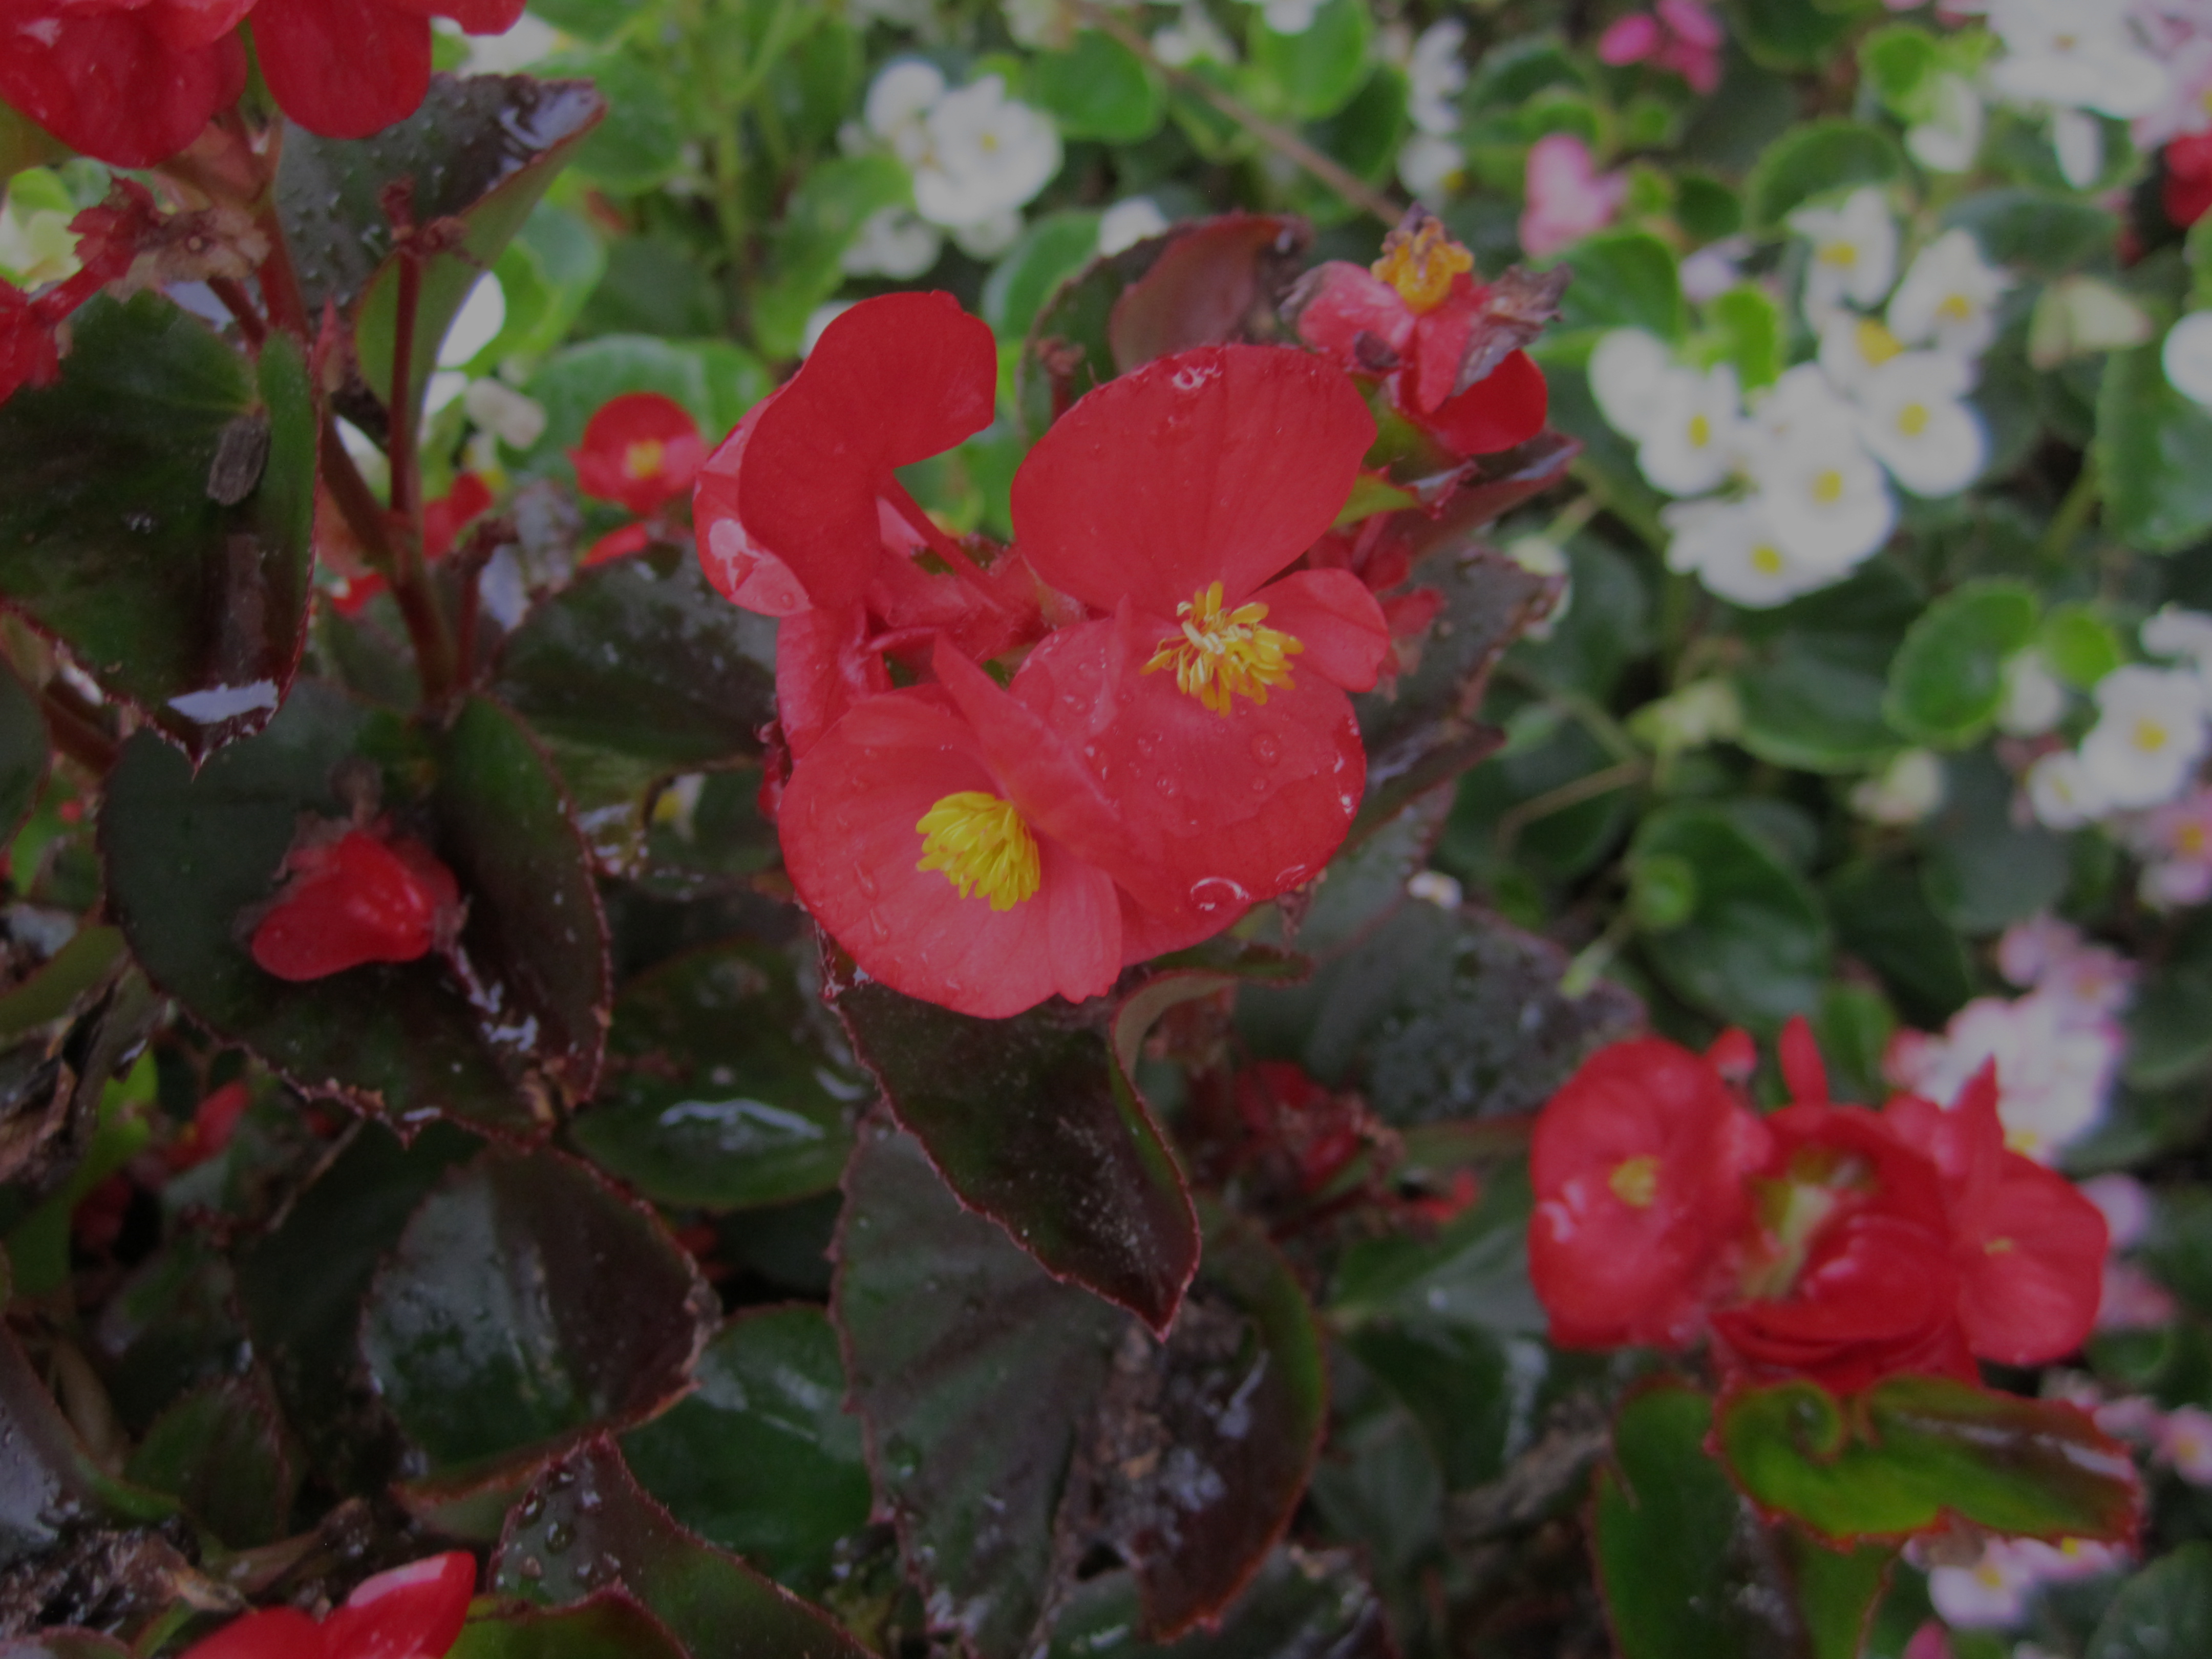
For this tutorial, I will be using a photograph I took outside on an overcast day that is far too dark. If you would like to follow along on your computer, you can download the image below by clicking this link and saving it your computer, and try the tool for yourself on your download of GIMP. Or you can use a dark picture in your computer to try the same techniques.
Start by opening the image in GIMP.
There are two ways to open the Brightness and Contrast Tool. Both start by selecting submenus from the menu at the top of the screen. The first is by going through the “Colors” menu and then selecting “Brightness Contrast”. The second method is by selecting “Tools”, followed by “Color Tools” and lastly “Brightness Contrast”. In either case, you open the Brightness Contrast tool.
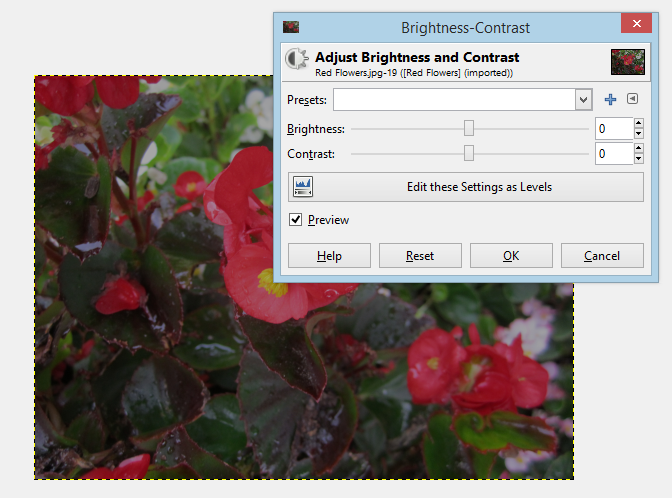
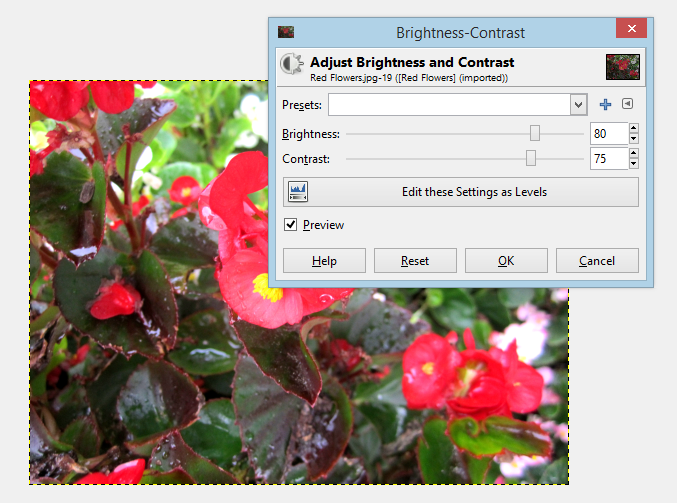
As you can see, the tool has two sliders, one controlling brightness and the other controlling contrast. Moving the brightness slider in a positive direction (to the right) brightens the image, and moving it in a negative direction (to the left) darkens the image. The same applies to the contrast slider, with movements to the left decreasing the contrast and movements to the right increasing it. The “Edit these Settings as Levels” button opens another dialogue that allows for more sophisticated manipulation. We will be covering the use of the Levels tool in a later tutorial. The preview checkbox should be checked. This allows you to see the effects of your changes on your image as you make them.
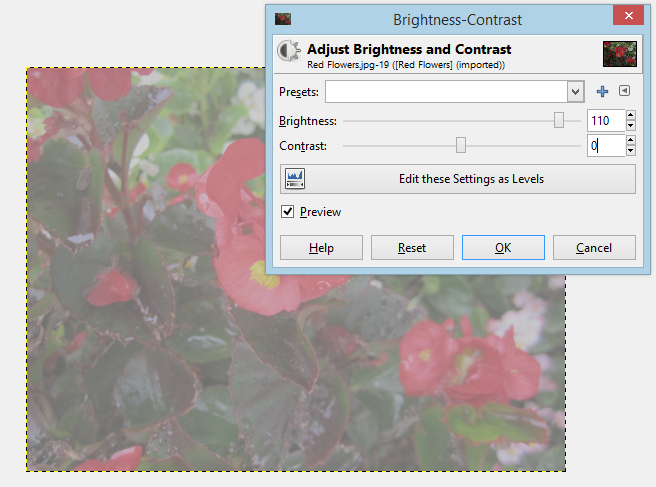
I suggest starting off by playing with the controls a bit. Try setting brightness to a high number while leaving contrast the same. See how washed out and gray the image looks. That is because brightness simply lightens the colors uniformly. Even photographs taken in bright light have dark areas, which is why modifying brightness and contrast together is important.
 Every image is different and there are no universal settings that will give you the perfect effect. When working with your own images you need to experiment a bit to find the best values. For this picture, I like a vibrant, high contrast look, so I set the brightness to 80 and the contrast to 75. Try those values and see how you like them. If you don’t, keep looking until you find values you like and then click “OK”.
And that is all there is to it. Your picture is ready to use or edit further.
I hope you enjoyed this tutorial and post ideas for future ones in the comments!
